
Appearance
Set up the AI assistant
This page takes you from no AI to a working auto-reply, step by step. AI providers and costs explains every setting in detail.
The assistant answers only from what you tell it about your business and the documents you upload. When it isn't sure, it hands the chat to your team. Desorix ships no API keys: you use your own, and the provider bills you for it.
1. Get an API key
Pick one provider. You can add the other later.
- OpenAI (recommended if you'll upload documents): sign in at platform.openai.com → API keys → Create new secret key. Add a payment method or credit under Billing. An OpenAI key also gives documents meaning-based search.
- Anthropic (Claude): sign in at console.anthropic.com → API keys → Create key, and add credit under Billing. Without an OpenAI key as well, documents are searched by keywords.
Copy the key. Providers show it only once.
2. Add the key to Desorix
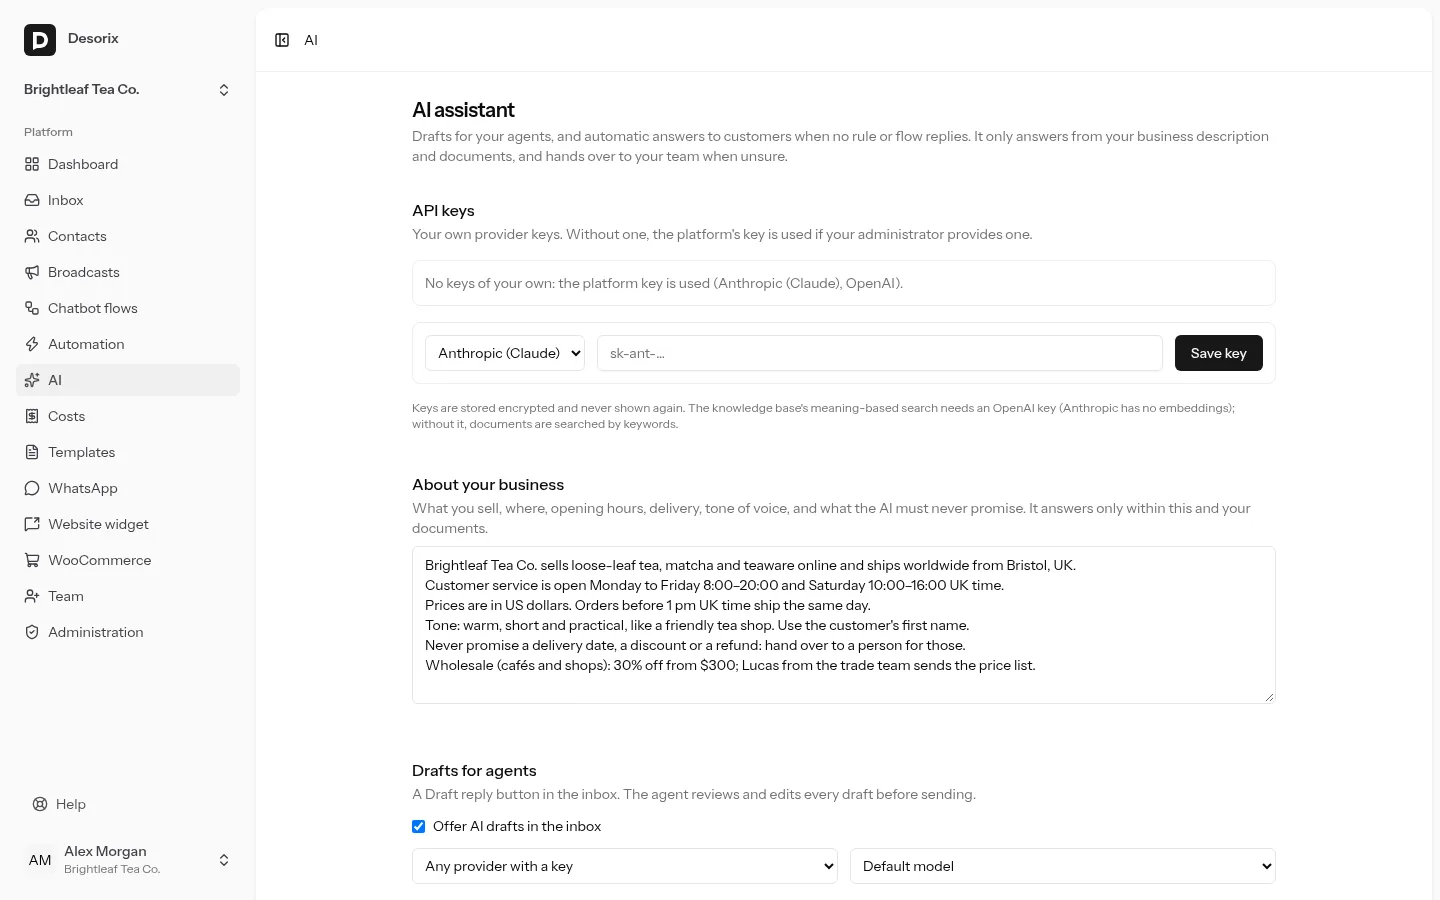
- Open AI. Under API keys, choose the provider, paste the key and click Save key.
- Click Test next to it. Works means you're ready. Otherwise the provider's error is shown, often a missing payment method.
Running Desorix for several businesses?
A platform administrator can add a key once under Administration → AI → Platform AI keys. Workspaces without their own key use it, and the platform pays the provider.
3. Describe your business
Open AI → About your business and write a few short paragraphs:
- what you sell and where you deliver;
- opening hours and how to reach a person;
- prices or where to find them;
- the tone to use ("friendly, short answers, first names");
- what it must never do, for example "never promise a delivery date" or "never give refunds; hand over instead".
Auto-reply can't be switched on until this is filled in.
4. Upload documents
Under AI → Documents, click Add document and upload your FAQ, price list, shipping and returns policy, or paste text. PDF, Word, text, Markdown and CSV are accepted, up to 10 MB each.
Each document shows Queued, then Indexing…, then Ready, usually within a minute or two. Scanned PDFs can't be read; paste their text instead.
5. Try it
Use Try it on the AI page. Ask what customers really ask: "How much is delivery to Germany?", "Can I return an opened pack?".
For each question you see:
- the answer and the confidence (0 to 1);
- whether it would be sent;
- what it cost;
- which passages of your documents it used.
Nothing is sent to WhatsApp. Ask something you don't want answered too, such as "Can you help with my taxes?": it should decline and hand over.
If answers are wrong, improve the description or documents and try again.
6. Drafts for agents
Drafts work as soon as a key is added. In the inbox, an agent clicks Draft reply, checks and edits the suggestion, and sends it. Nothing is sent on its own.
7. Switch on auto-reply
Open AI → Auto-reply:
- Tick Answer customers automatically.
- Choose the numbers it answers on (none ticked means all).
- Keep the confidence threshold at 0.75 to start. Raise it if it answers things it shouldn't, and lower it if it hands over too often.
- Optional: Message when handing over, for example "Thanks! A member of our team will reply shortly." Leave it empty to send nothing.
- Save.
Automation runs first: keyword rules, welcome and away messages and chatbot flows answer before the AI does. The AI only answers messages nothing else answered.
8. Set a spending limit
Under AI → Monthly spend limit, set a ceiling, for example 20 USD. When it's reached, auto-reply pauses, the conversations go to your team and owners get an email. Each auto-reply also costs a WhatsApp service message (see Costs and alerts).
Check how it's doing
- Inbox: AI replies are labelled AI assistant. A handed-over chat shows a grey line with the reason.
- AI page: the cost per auto-reply over the last 30 days.
- Costs: AI spend by feature next to WhatsApp spend, with the replies sent and the chats handed to your team.